How to make coffee at home
ESPRESSO COFFEE
In this guide we detail one of the most commonly brewed forms of coffee (in terms of frequency), the espresso. Our rules of thumb are still relevant, as in the filter coffee guide, that is to say it is vital to select both quality coffee beans and the right grind type. Please have a look at our blog entry about picking the right grind size (www.bounbeans.com/grind-size-importance-blog-5).
The espresso coffee is arguably one of the most popular and commonly pulled (pulling = drawing / process of brewing an espresso). Most of the coffees available in coffee shops, e.g. latte, cappuccino or long black / americano, are extensions of an espresso. I.e for a latte you start with a shot of espresso, then pour frothy and steamed milk on top. For a cappuccino the amount of steamed milk and frothy milk is varied, but they are ultimately coffees with the same ingredients. An Americano is a shot of espresso with hot water poured on top, and that is it.
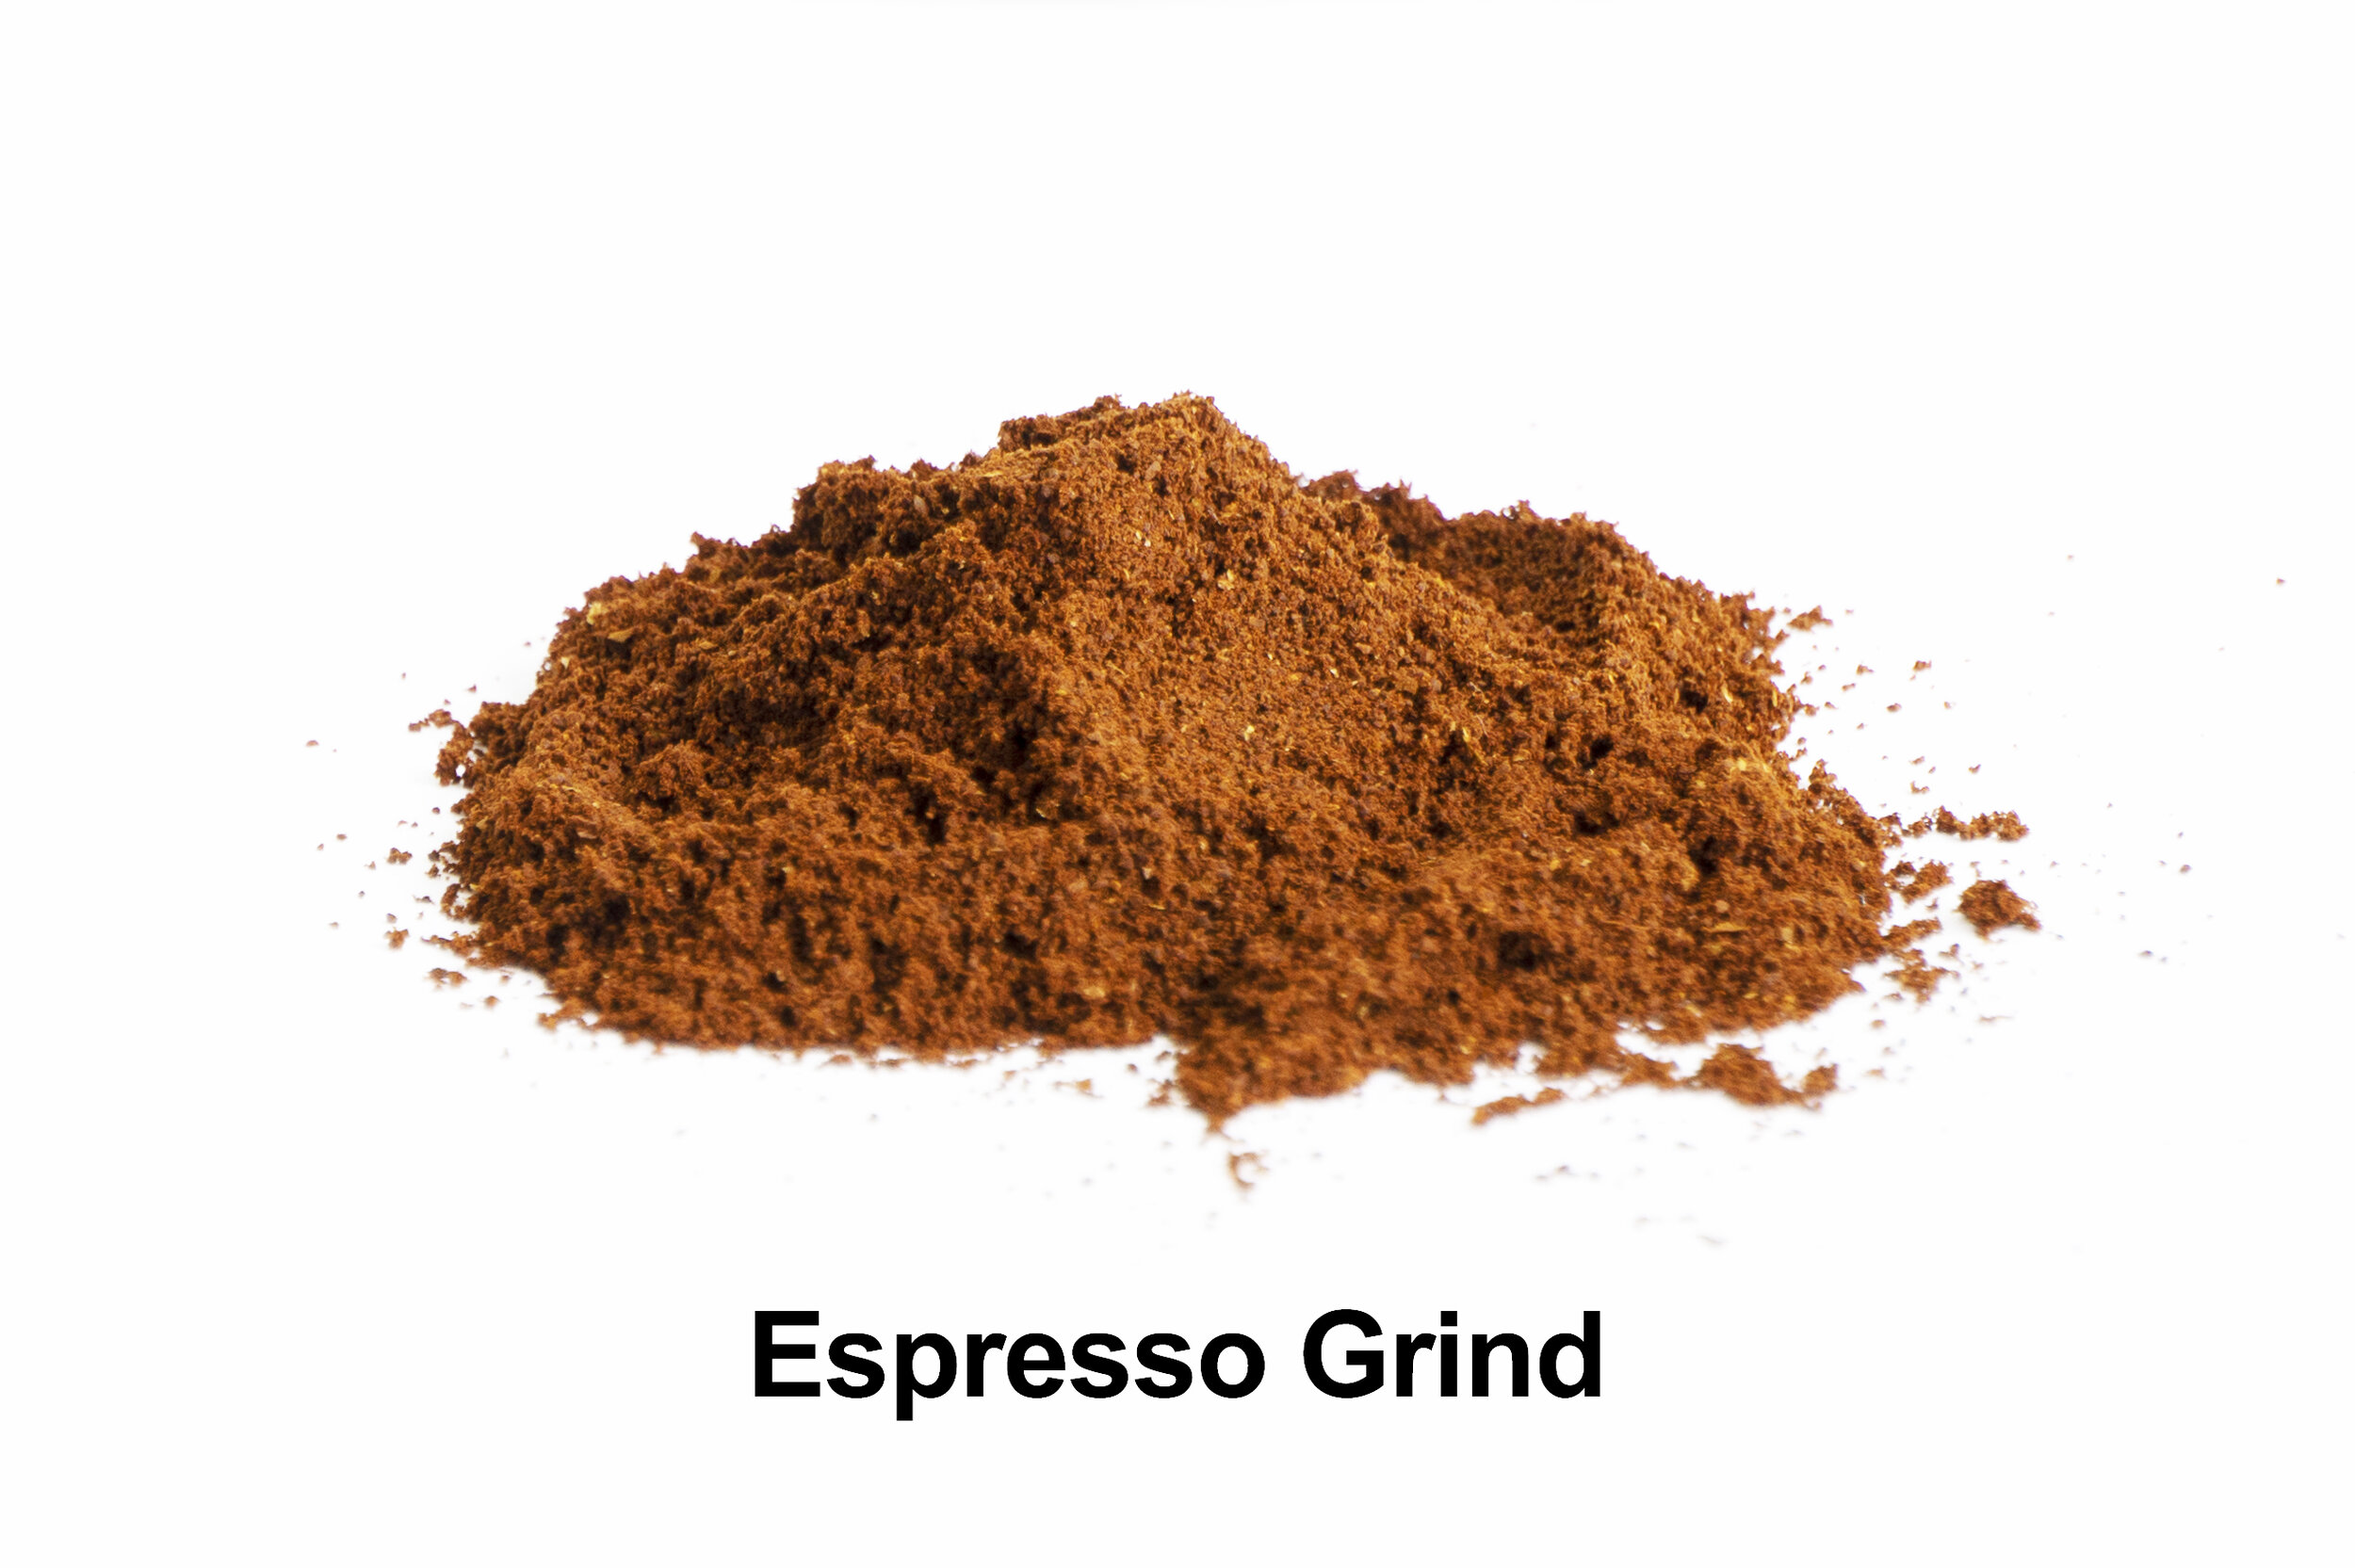
An espresso makes up the base of the coffee, then, depending on what is added to the cup of coffee it is transferred into the drinks listed above (latter, cappuccino, americano). For this type of drink, you will need an espresso grind.
Step 1
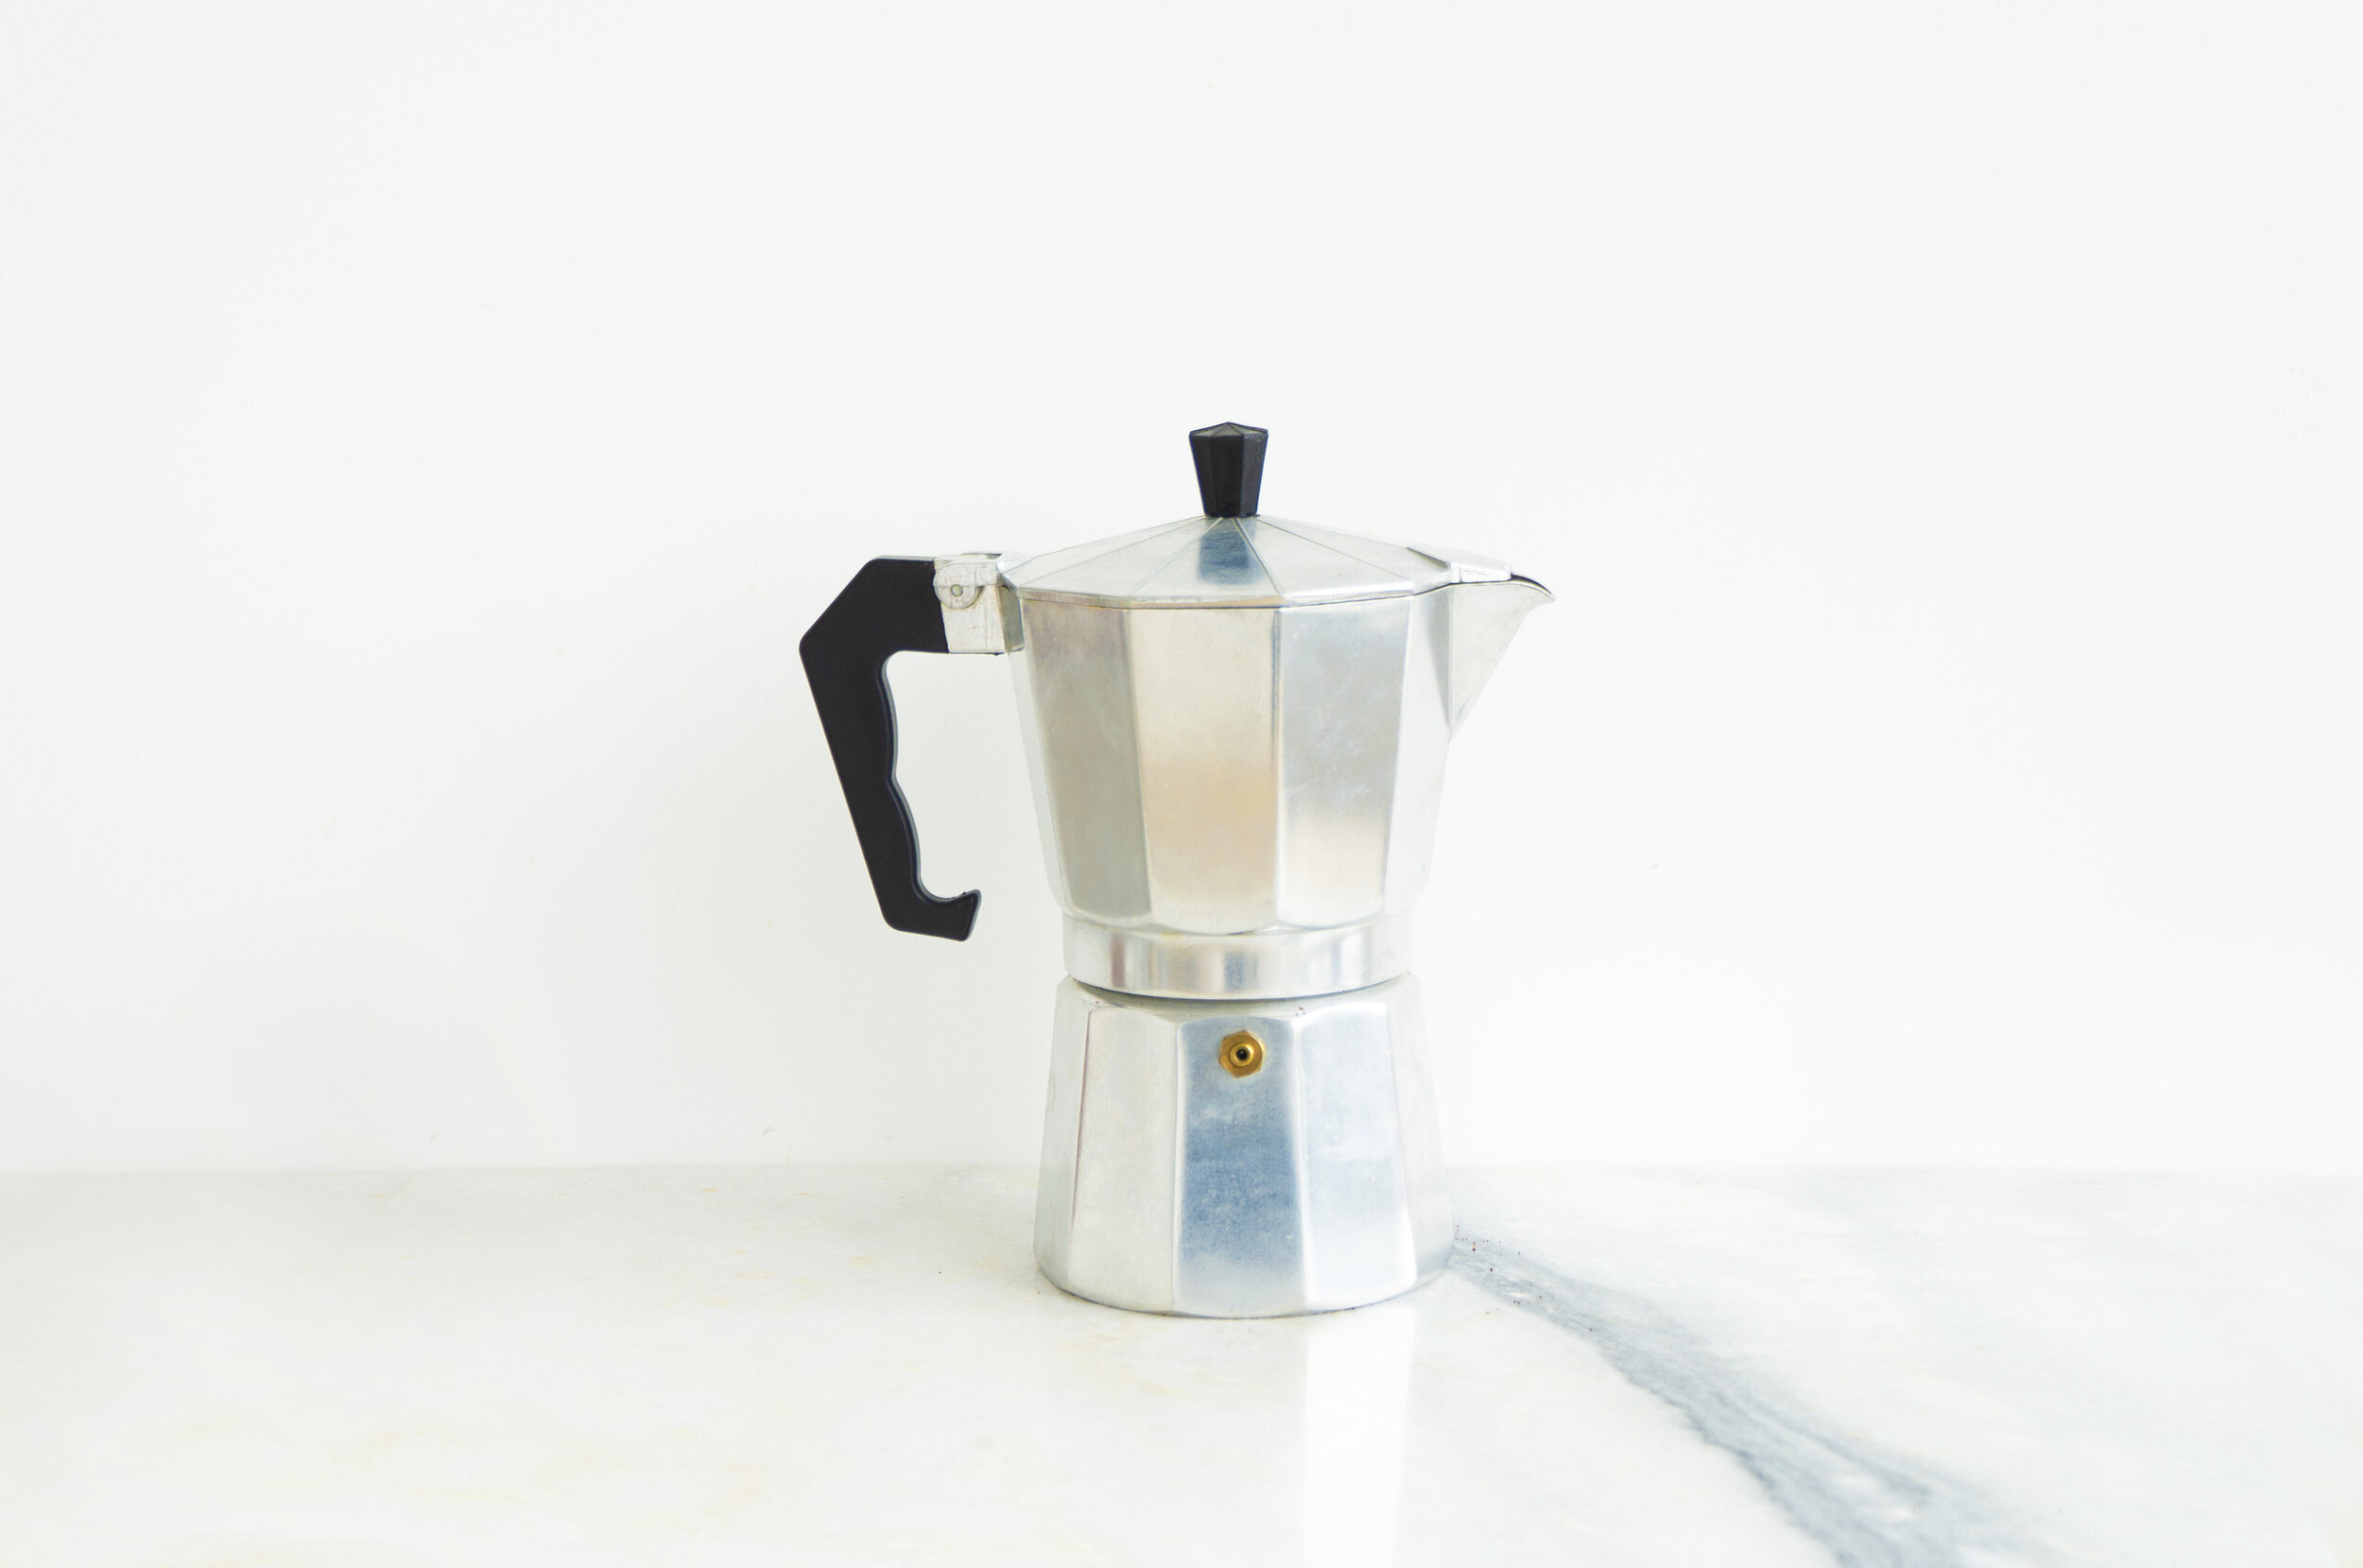
Prepare your equipment. Make sure it is clean and dry. We will begin with the espresso grind, and prepare our dry clean moka stovetop pot.
Step 2
Place the water into the moka pot. Good old fashion Italian culture dictates that you use the air hole (steam hole on the side of the mock port) as a guide on how much water to put into the pot.
Step 3
Now it’s time to load the ground coffee (espresso grind) in the metal basket that comes with the Moka Pot and place it into the coffee maker. Your coffee should be finely ground, the an almost flour like texture. You will also need to flatten the ground so that basket loaded into the moka pot looks like the moka pot in the second picture below.
Moka espresso maker with finely ground coffee in the basket ready for securing - be sure to flatten the coffee grounds as shown in the picture below.
Moka espresso maker with flattened coffee grounds ready for securing
Step 4
You will then need to screw on the top and make sure it is secure. If it is not screwed on tight, it can result in steam and hot water leaking - both during the coffee brewing process and while pouring coffee into a cup. This is a potential burn hazard so please do take precaution when screwing on the top of the moka pot AND when pouring.
Step 5
Now it’s time to load the moka pot onto the stove and let it brew. You should be able to hear the water bubbling inside the pot and eventually see steam gushing from the steam hole, to the side on the moka pot. Please take precaution not to be too close to the pot as the steam is very hot. Once steam is gushing from the side and the water can be heard bubbling, it is ready. Some moka pots also give off a whistle sound. It would be good to turn the heat off and remove the pot from the stove and place it onto a surface that can handle heat, and that hasn’t been heated.
You coffee is now ready. Pour and enjoy.
*when pouring from a moka pot, be sure to take care when tilting the moka pot as it may leak (release more steam and leak hot coffee/water) when pouring, this happens across many different brands of moka pot and can be indicative of the top not being screwed on tightly, or in the worst case, a damaged gasket*
The more you brew, the more refined your taste will become and your brewing skills. Once you’ve found the right coffee-grind-to-water ratio, you’ll then be able to take things further by experimenting with different types of water. This can include trying different types of bottled water, or with conventional tap water vs filtered tap water. If you live in an area with hard water (you can check this here: https://www.thameswater.co.uk/help/water-quality/check-your-water-quality#/search) it’s worth considering using bottled water due to the advantage that the minerals will be balanced.


